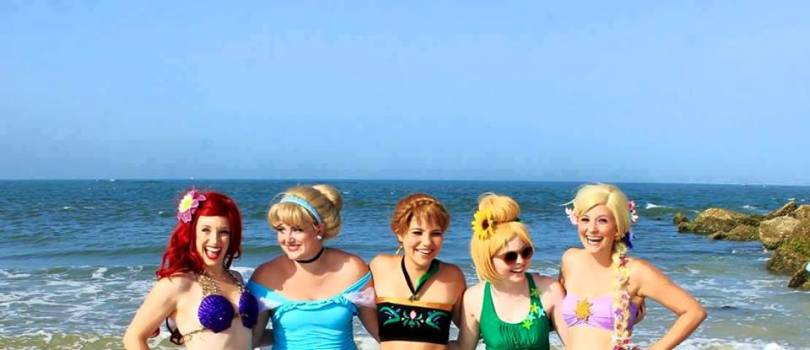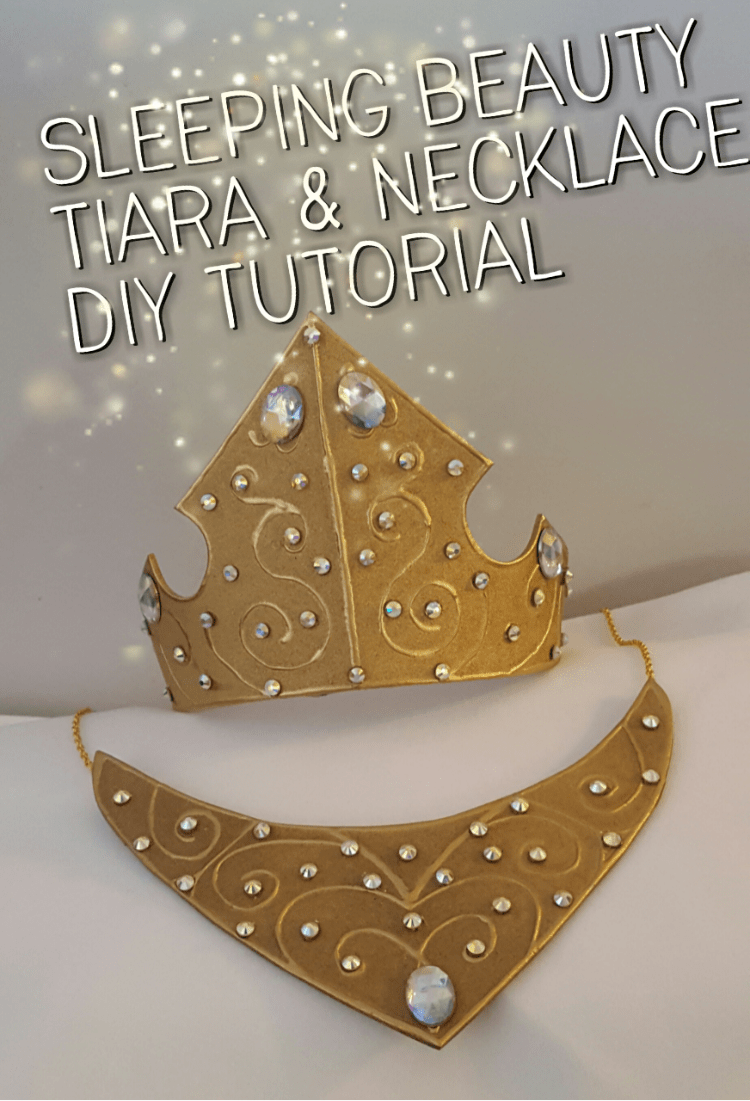

All materials can be purchased at hobby lobby, michaela, joanns, any kind of craft store really!
I use individual foam craft sheets. The thinnest ones, I believe there are two thicknesses, I always pick the thinner one. I use two sheets for the crown and one for the necklace.
I made a master crown and tiara shape by sketching it out on paper first, that way I didn’t waste foam. I always fold the paper in half so that I ensure it is symmetrical. I would play with it until you think it looks good, holding the paper up to your neckline and head.
Once you have the shape you like, trace it onto the foam. For the tiara, as I said I use two pieces, I cut one slightly smaller and glue it to the back to give it more stability. You’ll want to crease the crown down the front center. You can do this by simply folding it in half and applying pressure. That way it gets the right shape 😉

Once you have the foam cut out and the shape you want it. Draw using a pencil the swirly designs. If you Google “aurora Disney parks crown” there’s some good reference images. Or you can use mine if you want 😉 I try to make the tiara symmetrical in design but the necklace pattern is more asymmetrical.

Using puff paint, fabric paint, or even elmers glue, carefully trace the pattern you’ve drawn. As well as all along the edges to give it that raised look. If you mess up you can wipe it off with a wet rag before it dries.

Let it dry for 24 hrs. Spray paint the front and back using metallic gold spray paint. At this point both pieces should be relatively flat, with the exception of the slight crease in the crown.

Once the paint is dry, add rhinestones. I use e6000 glue for this. I prefer the ab crystals but you can use whatever you want!


I usually let that dry for another 12 hrs or so. Finally, using hot glue I bend the crown around a headband just like a plain tiara. I also hot glue a 12″ gold colored chain to the necklace. The more glue, the more secure.


 NORTH POLE TUTORIAL: To make the North Pole I recycled an old shipping tube, though wrapping paper rolls or PVC pipe would work too. I spray painted the base color (silver) and then wrapped ribbon in different colors (using hot glue to attach it). I pushed the bottom into a styrofoam block I purchased from the Dollar Tree and then covered the block of foam in Modge Podge and sprinkled fake snow and some iridescent glitter on top to give it a frosty shimmer. I made the ‘North Pole’ sign and glue it to the pole. The top is actually a plastic Snow Globe from Hobby Lobby (the ones you can insert a picture in and design yourself). I filled it with some gold tulle and battery operated lights I found in the dollar section at Target. My tube was actually the perfect width for the globe base to sit in nicely. A clear ornament would work too with any size tubing. That’s what I used for the top of the directional sign.


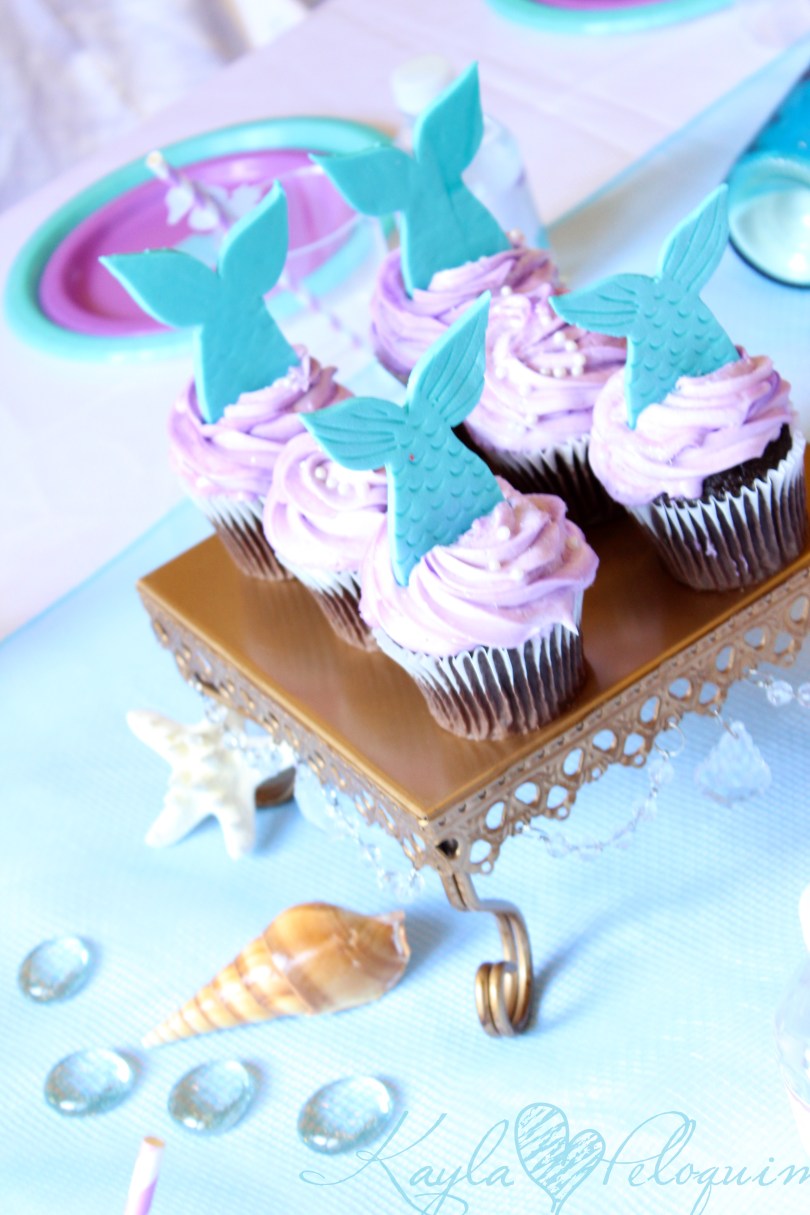


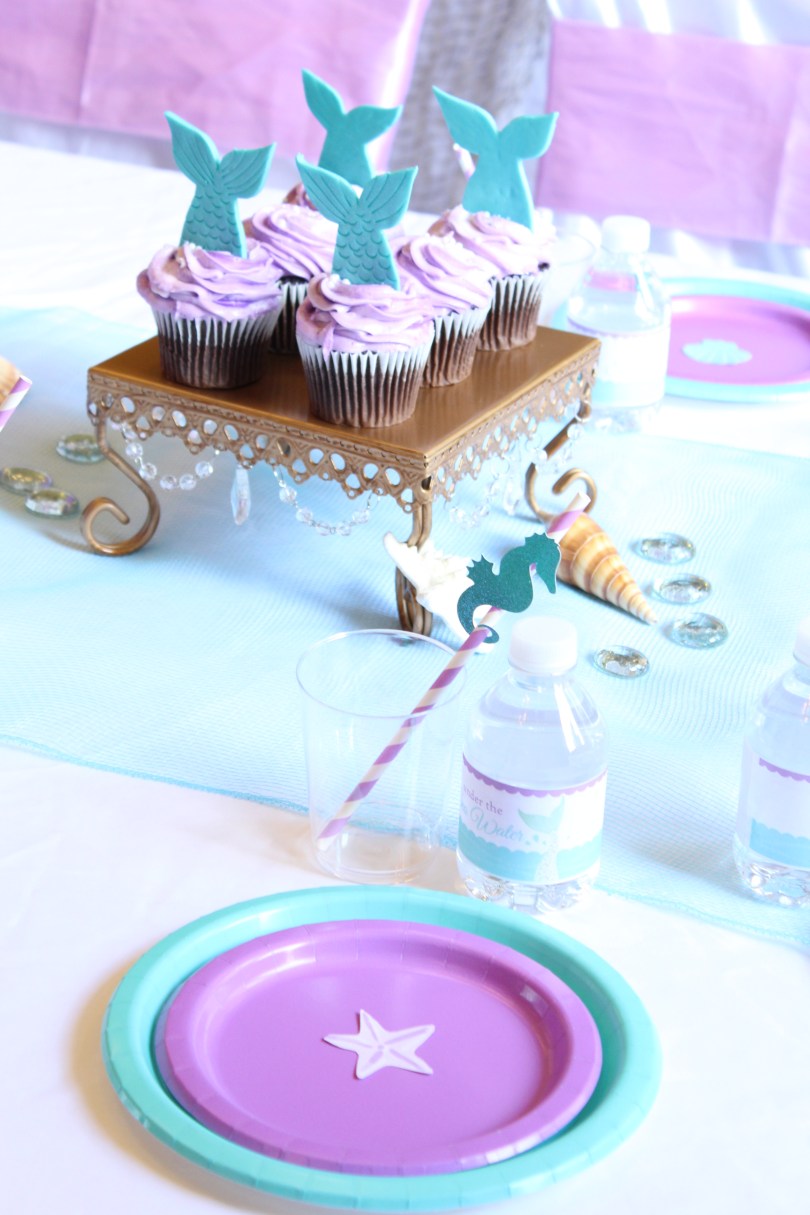
 It’s the little touches that really set a party over the top! Here is the inspiration for this project, Seahorse Straw Decor. These were made using a 12×12″ sheet of aqua glitter scrapbook paper (cardstock is preferred) and my Cricut Explore machine.


 Activities for the kids are also incredibly important when planning a party. Once your guests are dressed in their fairy attire, use some