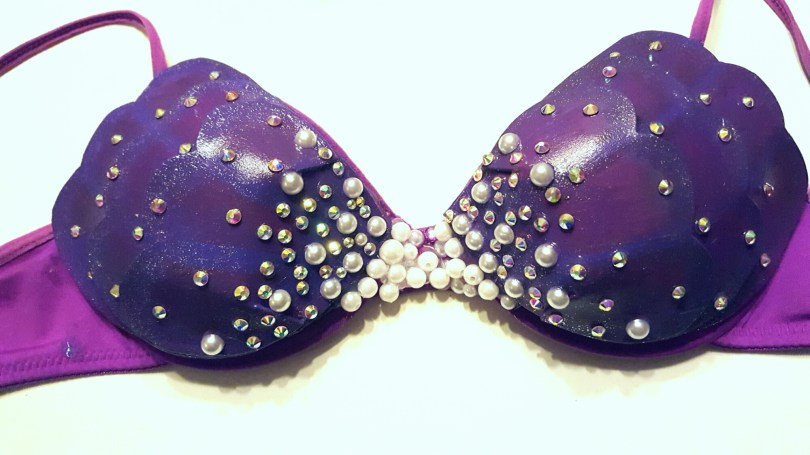
Learn how to make this beautiful mermaid top for less than $15!
What you’ll need:
- Bra or bathing suit top (preferably in nude or purple)
- One 11×17″ piece of craft foam
- Scissors
- Hot Glue Gun
- E6000 Glue
- Rhinestones
- Pearls
- Purple Paint in varying shades
- Silver Glitter paint (optional)
First trace the shape of your bra or bathing suit top on the craft foam to ensure the foam will cover the top. I added a scalloped edge to the larger side as shown below. I drew two smaller shapes as well, all with the scalloped edge. When we’re done, all three pieces will be stacked together to create the final piece. Also note the lines I drew. These were cut and layered on top of each other to create the curved structure.

See the fully cut out and scalloped pieces below.

Next, hot glue the slits, placing one layer over another. It should make a nice curved shape. Once all three have been glued, stack them on top of each other and glue them together. It’s important that each shell faces a different way (as shown below). Otherwise they won’t fit well on your top!

Now it is time to paint! This is where your creativity will really come in. I painted each shell (front and back) in one shade of purple to give it a great base. I then went in with a darker purple to define the edges and the shell lines to connect the dip in the scallops. I painted a brighter, more vibrant purple on the inner part of each circular piece. Lastly, I painted silver glitter paint on the edges of each shell, the very center corner and the lines. See below.

Home stretch! Now you want to add TONS of sparkle! I love these AB rhinestones from Walmart because they’re cheap and they have so much sparkle. I also purchased some flat backed pearls from Hobby Lobby. I tried to concentrate the embellishment toward the middle. I prefer using E6000 for rhinestone work, HOWEVER, I will caution you to only use in a well ventilated area! This stuff is STRONG and is known to cause cancer when inhaled…

Finally, it’s time to attach the shells to the bra/bathing suit top. E6000 doesn’t dry instantly but has a strong hold. Hot glue dries quickly but can sometimes peel off. I used a mixture of the two to fix the shells to the bra top. I used E6000 toward the center of the shells and then hot glue around the outside to quickly secure the edges. I also went through with hot glue and added more pearls and rhinestones to the center of the bra top to give it a seamless look.
And tada! You now have your very own, thrifty and beautiful Ariel inspired mermaid top. I’d love to see pictures if you made one yourself! Tag #PartyByAPrincess with your projects, email me at kayla@partybyaprincess.com or share in the comments below.


")
")
")
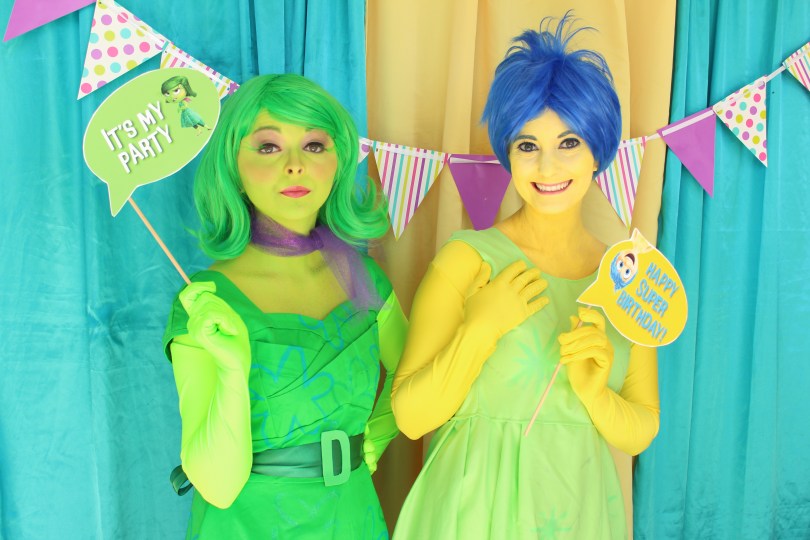


 CRAFT TUTORIAL: Gumball necklaces are such a popular item for kids. Typically these necklaces are made of plastic gumboil size beads, but DID YOU KNOW you can actually make them out of REAL gumballs?! Purchase multiple gumball colors and use a hand held drill to drill holes in the center. This makes a mess so be sure to protect your table, but isn’t too time consuming or difficult. Using a knitting needle (very important!) thread thin (quarter inch or smaller) ribbon through the holes. Tie knots on either side of the gumboils to space them out or stack multiple gumboils together for a fuller look. The back simply ties into a cute bow and voila! For this party, the colors were all attributed to ‘memories’ (purple was fear, red was anger, yellow was joy, etc). This craft can really be used for any party theme to make cute necklaces for guests to wear and take home.