DIY Tulle Ball Tutorial

image

Tulle balls are so easy and cheap! Plus they make an adorable accent to any centerpiece or girly party themed decor.

I recycled an old spool from some half inch ribbon I recently used up. I ripped the two larger circles off to create two flat donut shaped pieces of cardboard. To make a tulle ball you simply wrap the tulle around as shown above until all of the cardboard has been covered up. The thicker the better!

Once complete, you carefully cut the edge around the outside circle, be careful not to lose the end of the tulle! Run a small bit of tulle, maybe 6 inches or so, in between the two pieces of cardboard, without completely pulling the tulle off! VERY IMPORTANT! Tie it securely and then slide the pieces of cardboard off.

Trim the tulle to ensure it’s all the same size and you’re done! Glue these to dowel rods or colored paper straws or hang from the ceiling with fishing line, tulle or ribbon. The possibilities are endless!

image

The bigger the cardboard the bigger the tulle ball. I was able to make 20 out of one single roll of $3 tulle and it really only took an 30 mins. Such a quick, cute and thrifty decoration.

Advertisement

DIY Ballerina Cupcake Topper Tutorial

20150119_212757
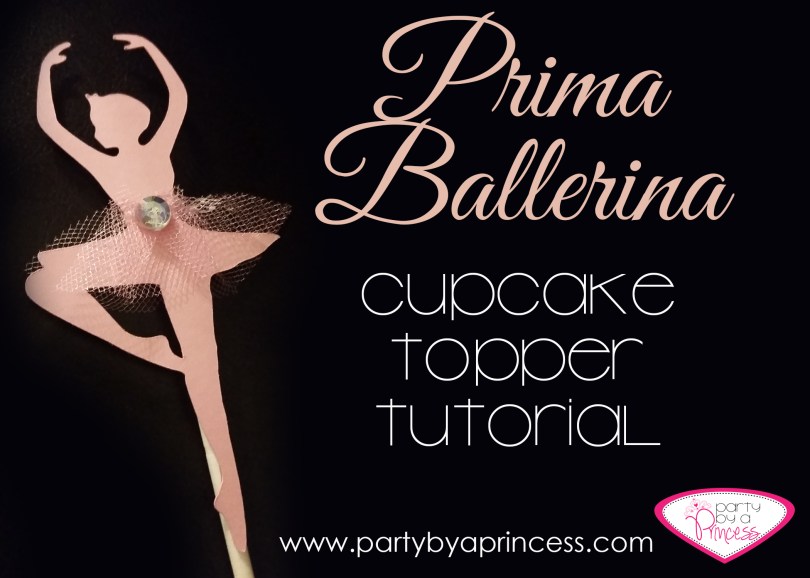
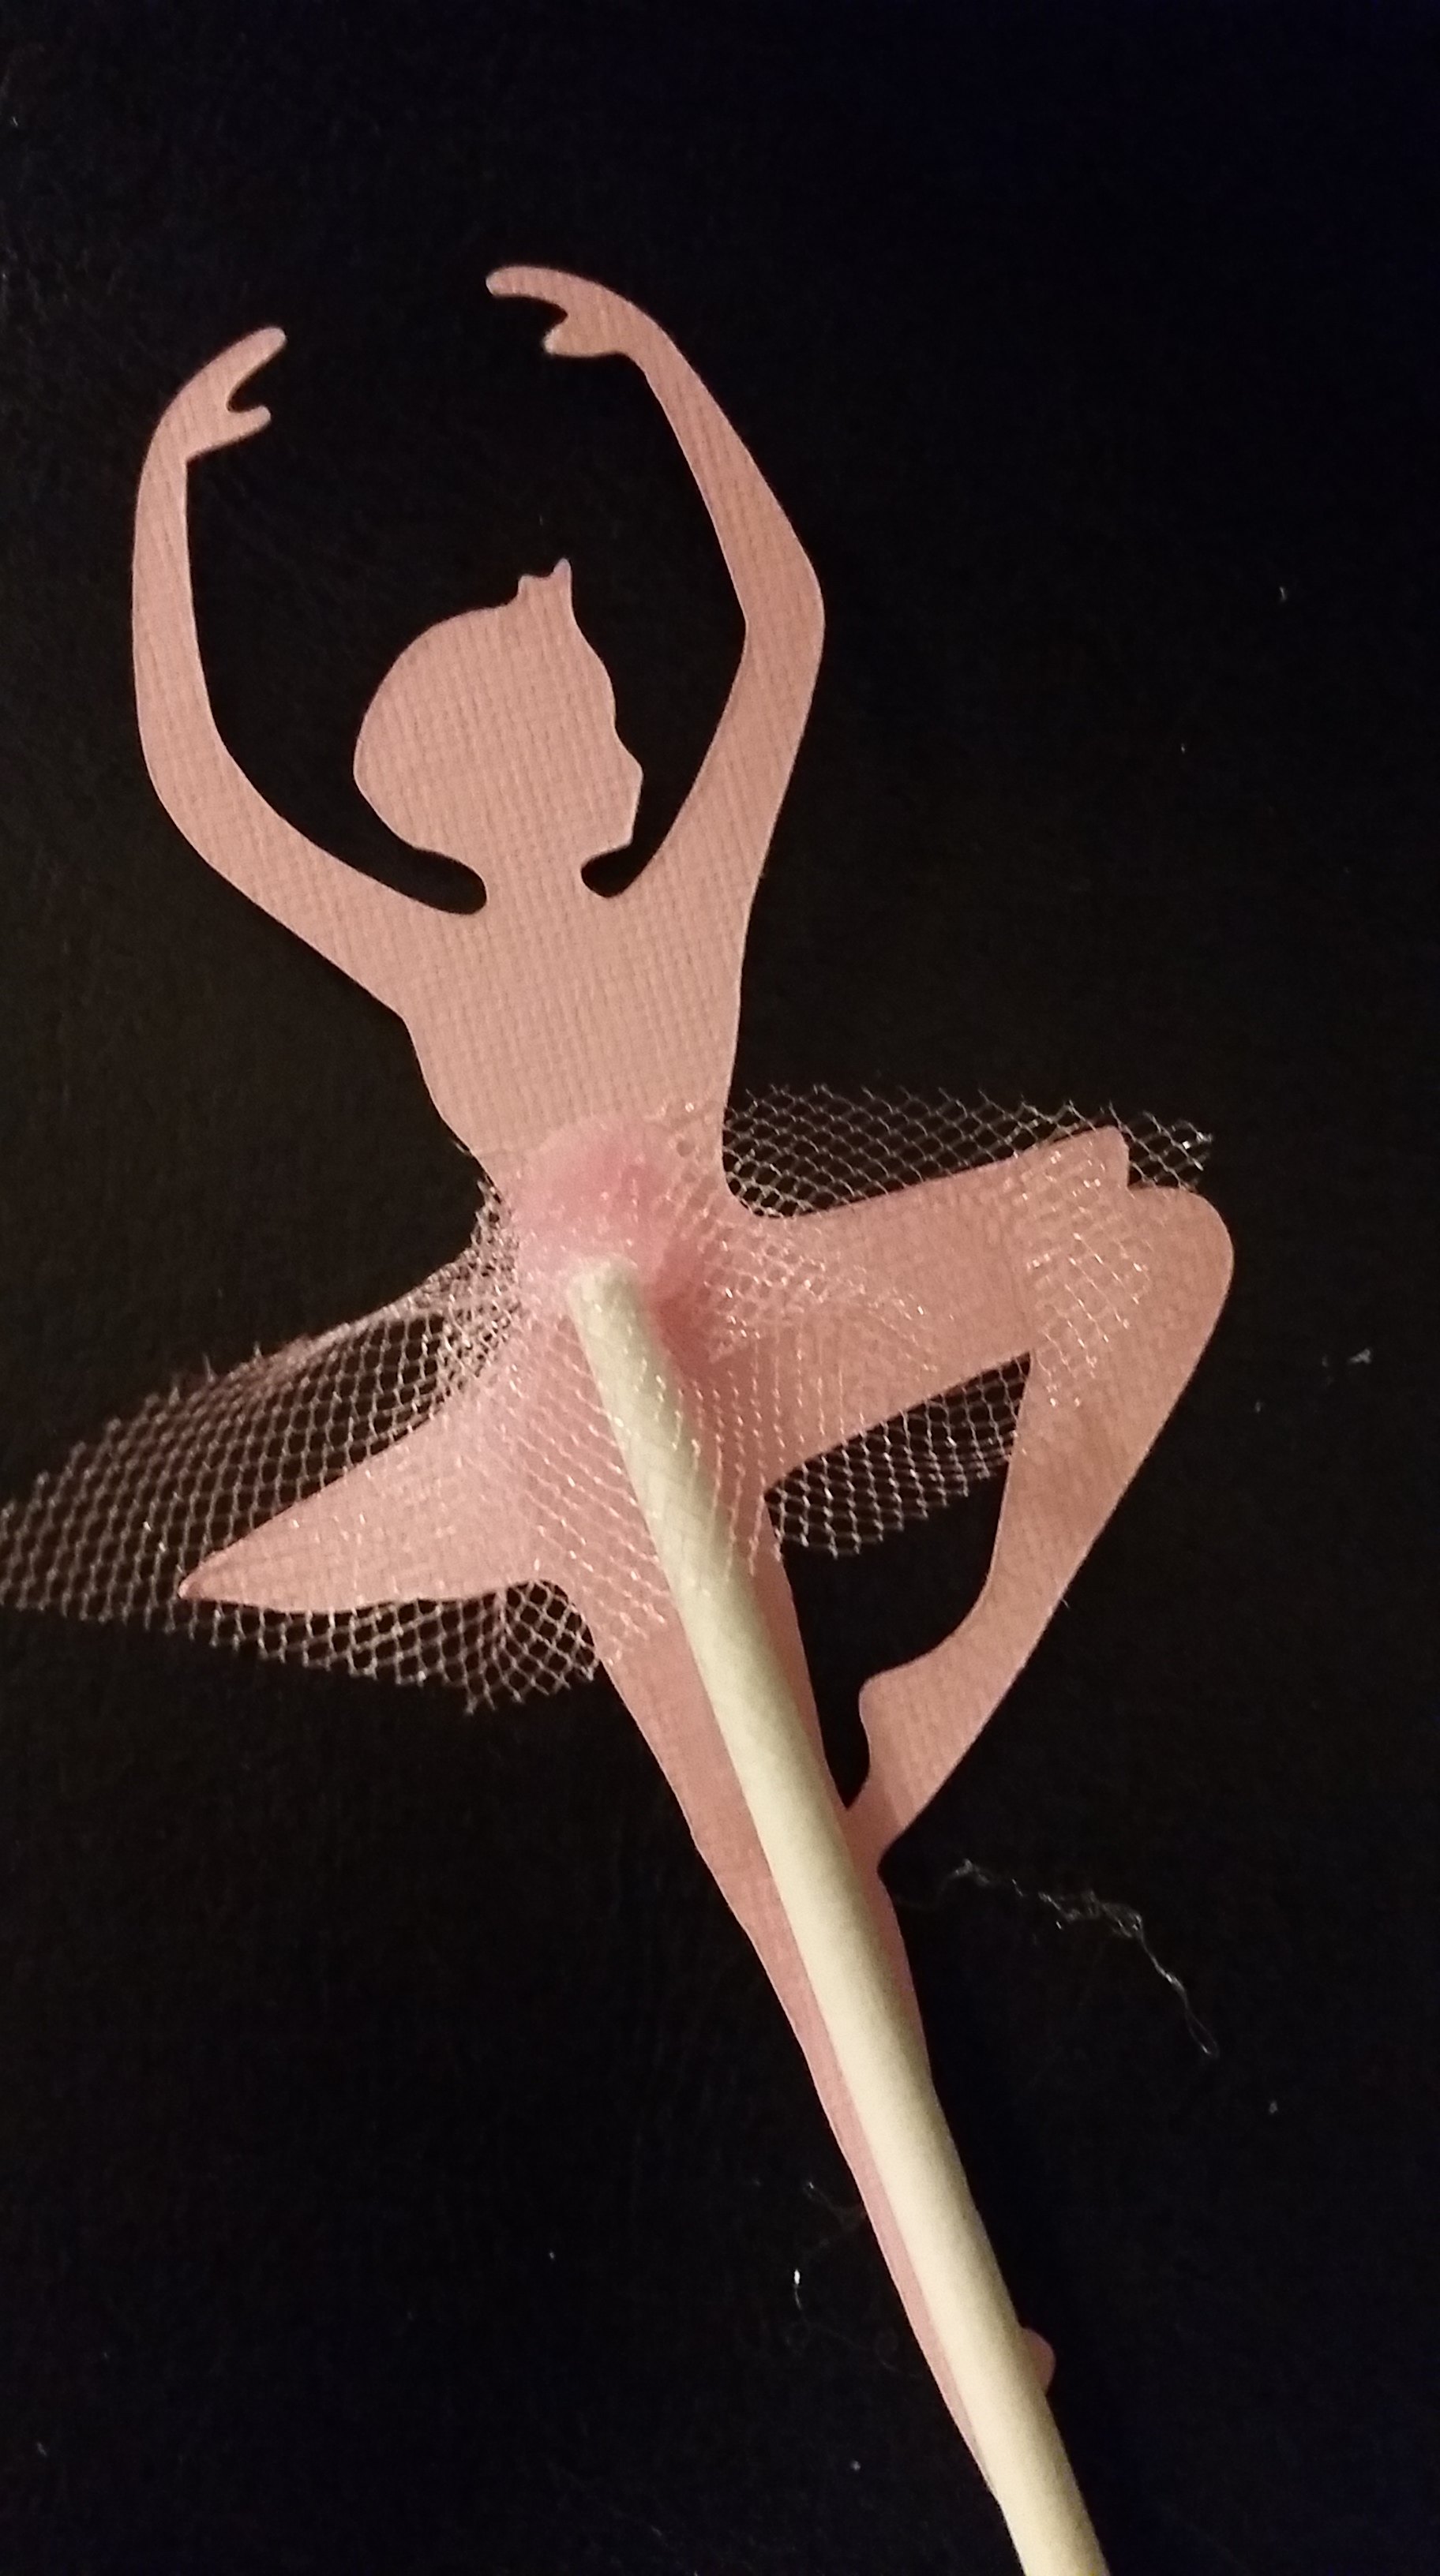
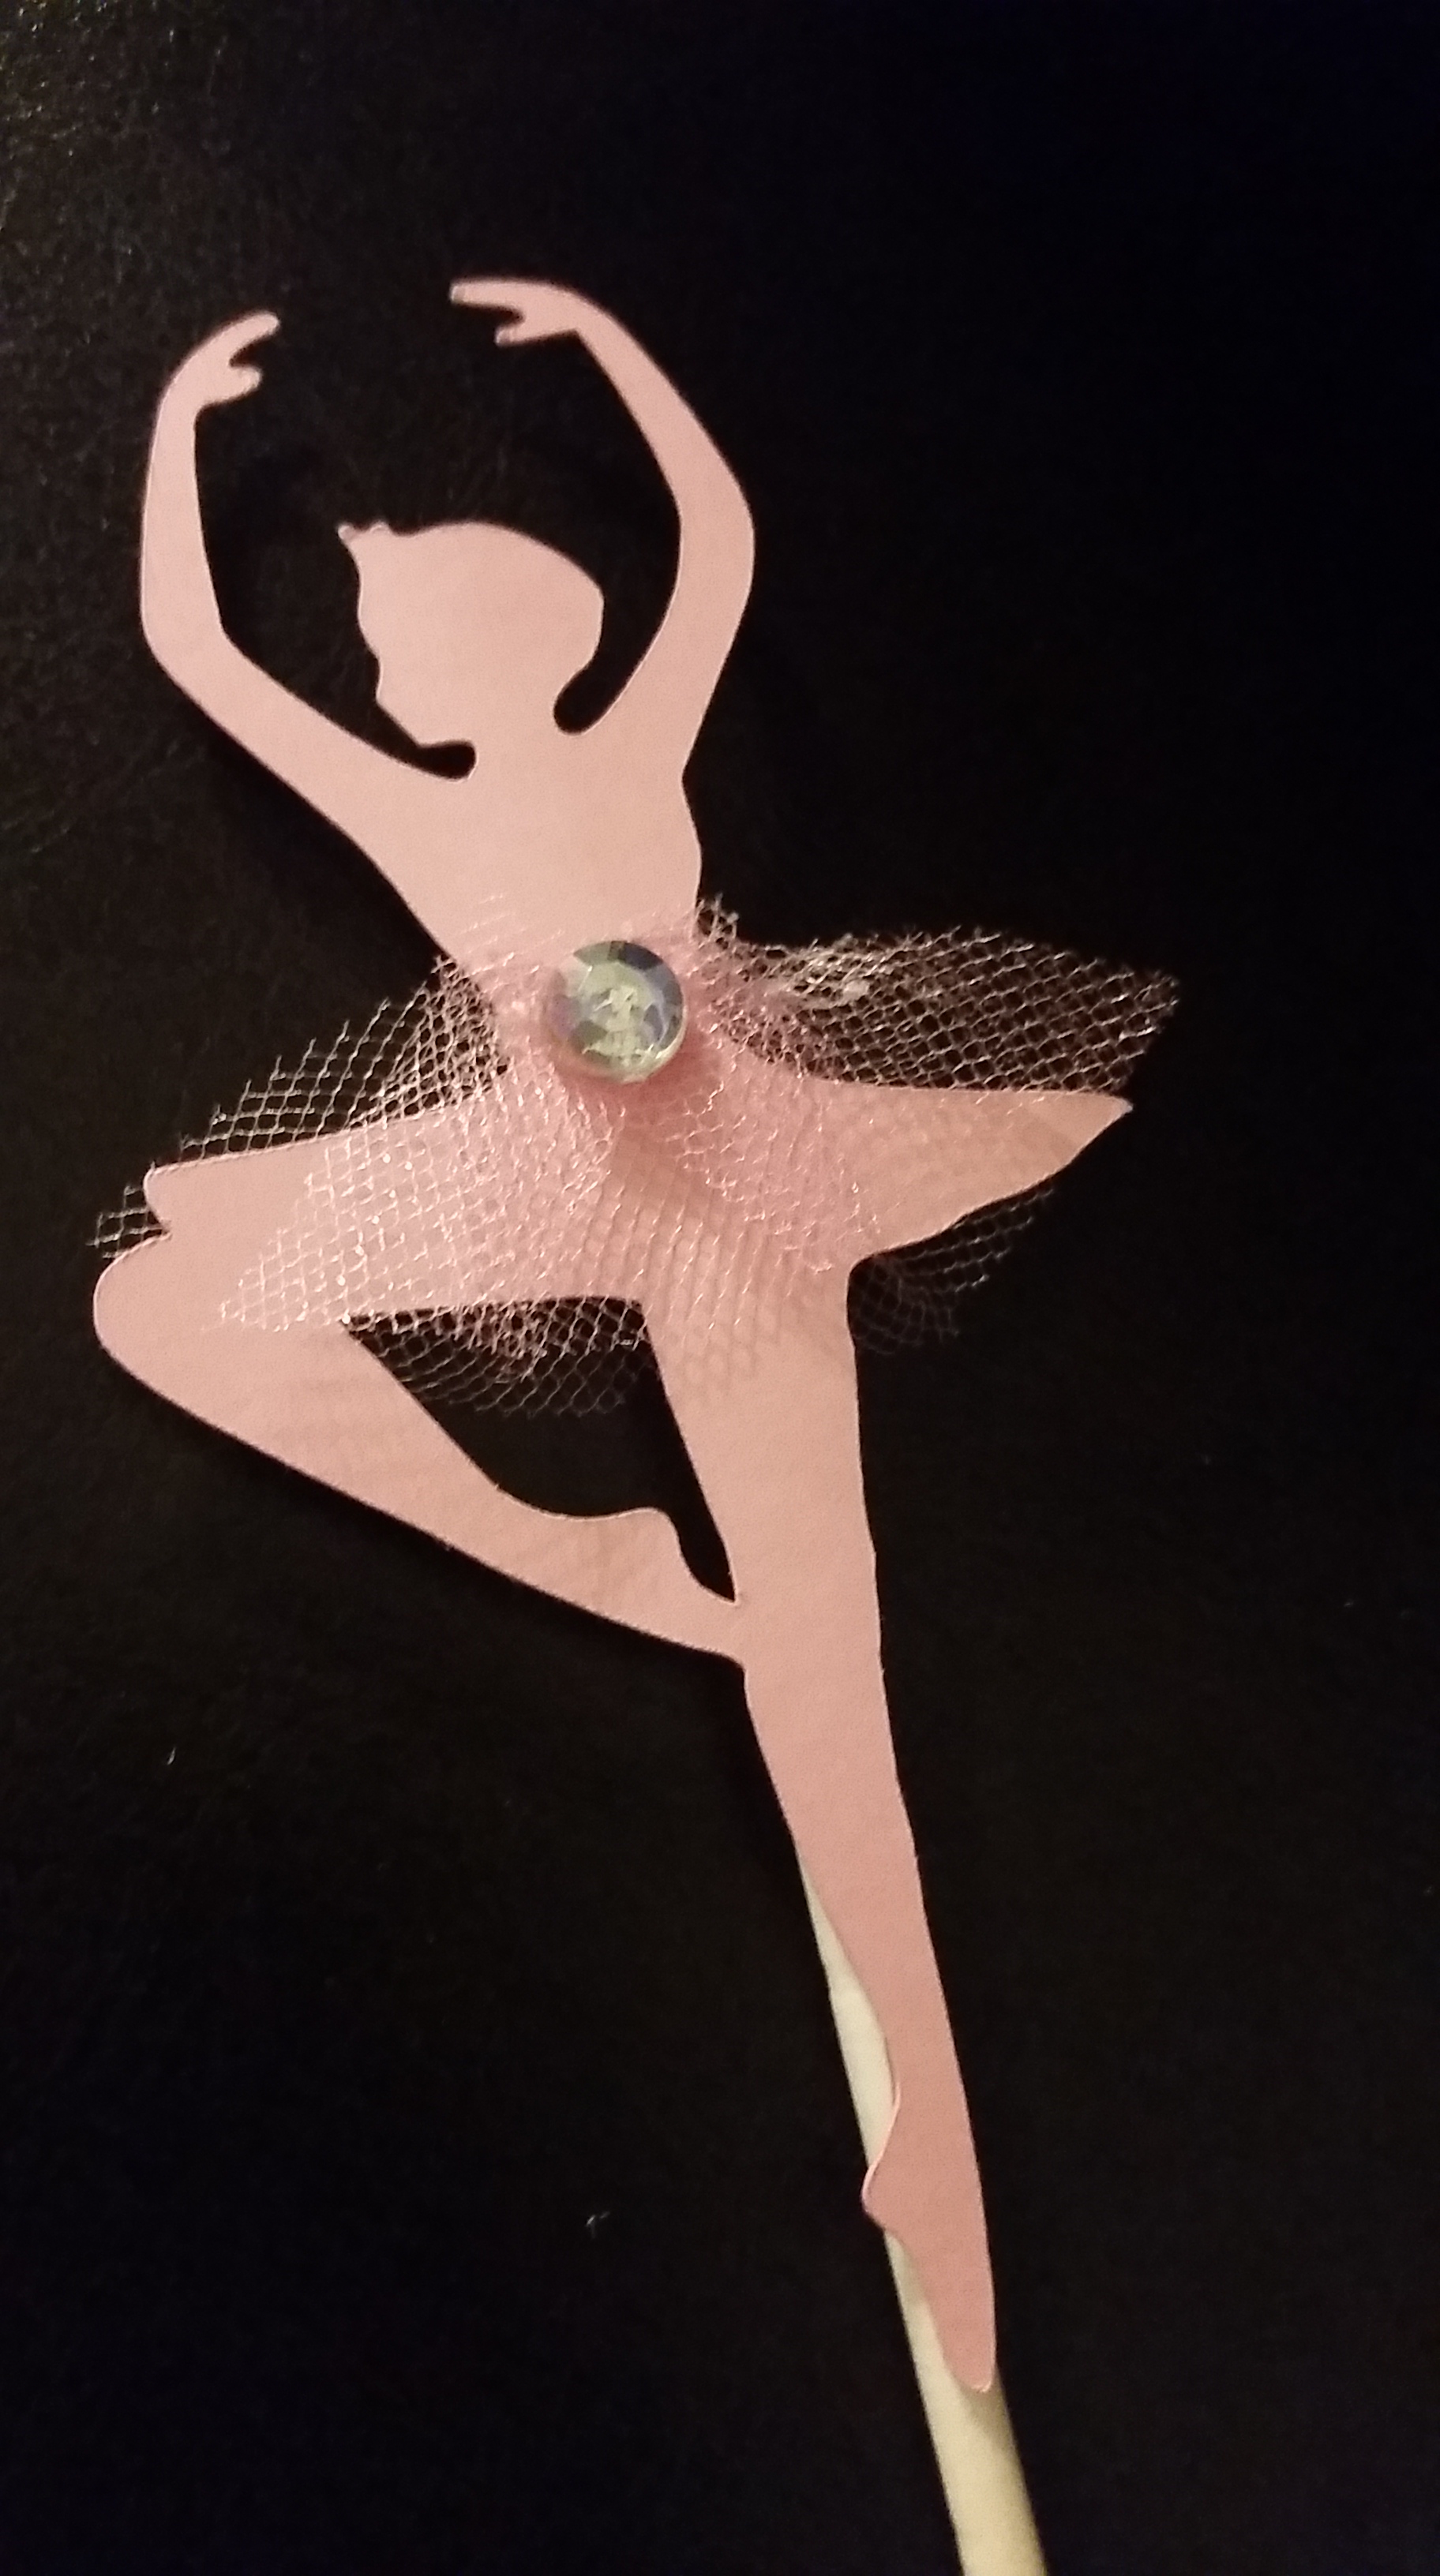
Nothing is more girly than a ballerina themed birthday! In this tutorial, we’ll show how we made these adorable silhouette cupcake inserts for a Prima Ballerina themed birthday party. To get started you’ll need:

  • Pink Tulle
  • Lollipop Sticks (purchased from Hobby Lobby)
  • Cricut Explore Cutting Machine (or similar product)
  • Hot Glue Gun
  • Your choice of 12×12″ Cardstcok (I chose light pink)
  • Rhinestones (optional)

I purchased cardstock from Hobby Lobby and used a svg file I created in Illustrator to cut out the ballerina silhouettes. Click here to download the PDF file I used. *Note: this is saved as PDF, if using with Cricut, you will need to save it as a svg or as a jpg in order to upload it.

Utilizing my Cricut Explore cutting machine I was able to cut out the ballerina shapes very quickly! (I am not endorsed by Cricut in any way, shape or form, I received the machine as a Christmas present and LOVE it!) After a little trial and error (the cardstock ripped on the tiara and hands the first time), I was able to successfully cut out the shapes using the “Light Cardstock” setting.

20150119_213307   20150119_213424   20150119_213639   20150119_214008

Next I used my hot glue gun on low temperature to secure the lollipop sticks to the back of the ballerina shapes. Make sure you glue the stick at least halfway up the shape for support. You don’t want a floppy ballerina!

Once glued on, I then cut two little inch long strips of tulle. I placed a small dot of glue in the center of the figure’s waist (right where the top of the stick was). I secured each piece of tulle on the glue and then creased and folded it over until I had a tutu textured look. I overlapped the front and back piece to give it a more uniformed look. Lastly, I added another small dot of hot glue to the front for a rhinestone. After all, you can never have too much sparkle!

Your daughter can steal the show at her birthday with our Prima Ballerina themed printables (all designed to match this same silhouette design). Click here to see the listing on Etsy. Enter coupon code BALLERINABLOG to save 10% on your order!